How to Setup MySQL on Windows 7
If you have ever wanted to setup WordPress on your local machine, or maybe try your hand at PHP development then you would most assuredly want to setup MySQL. In this post I hope to provide a step by step guide on installing and setting up MySQL.
These steps revolve around the installing and setting up of MySQL 5.5.
Download MySQL
- Download the MySQL Installer for Windows from http://dev.mysql.com/downloads/
- Run the installer once it has completed downloading
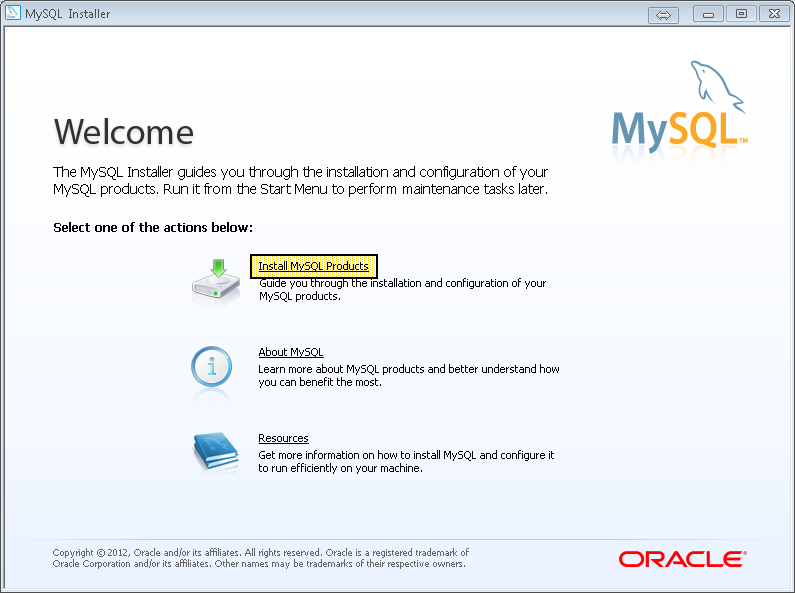
- Click “Install MySQL Products” on the Welcome screen
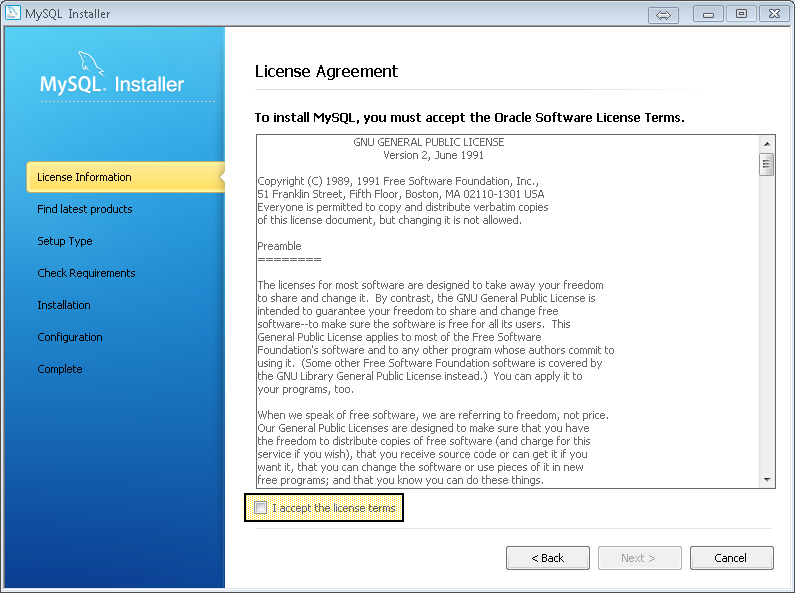
- Click “I accept the license terms” on the License Agreement screen
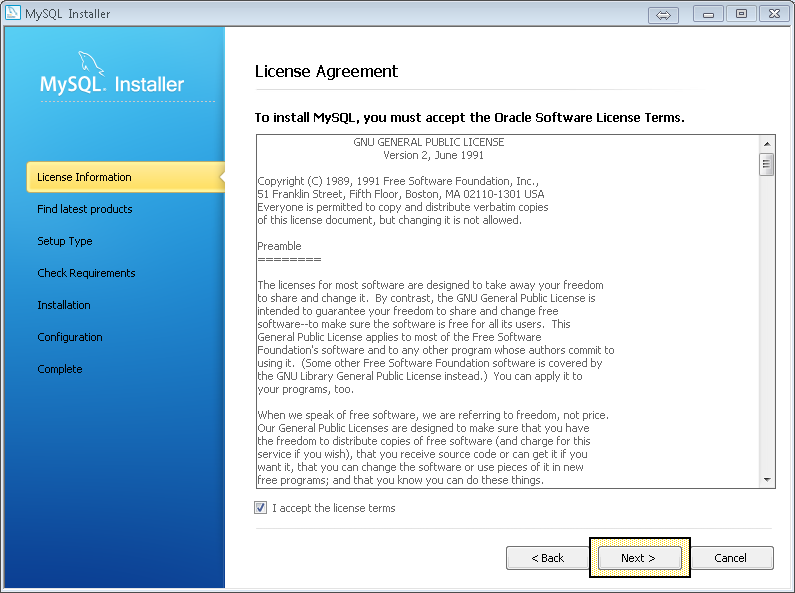
- Click “Next”
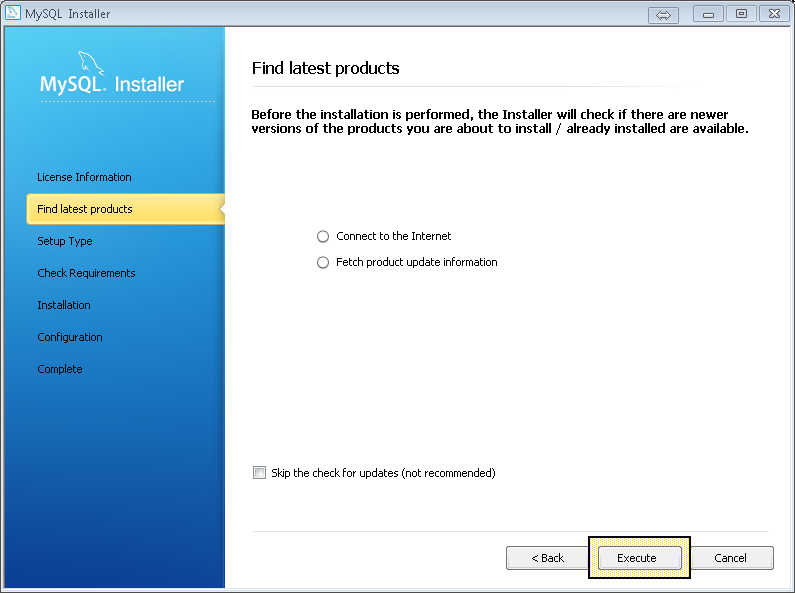
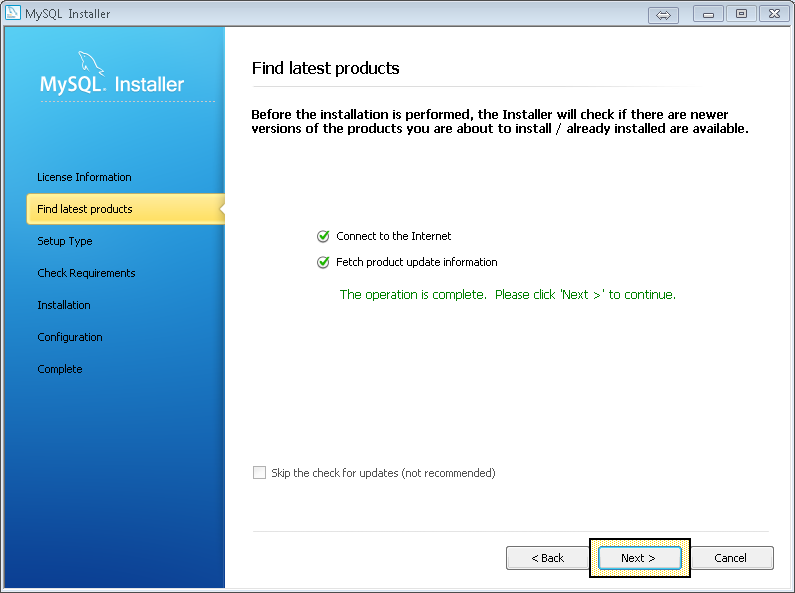
- Click “Execute” on the Find latest products screen
- Click “Next” on the Find latest products screen after the operation is complete
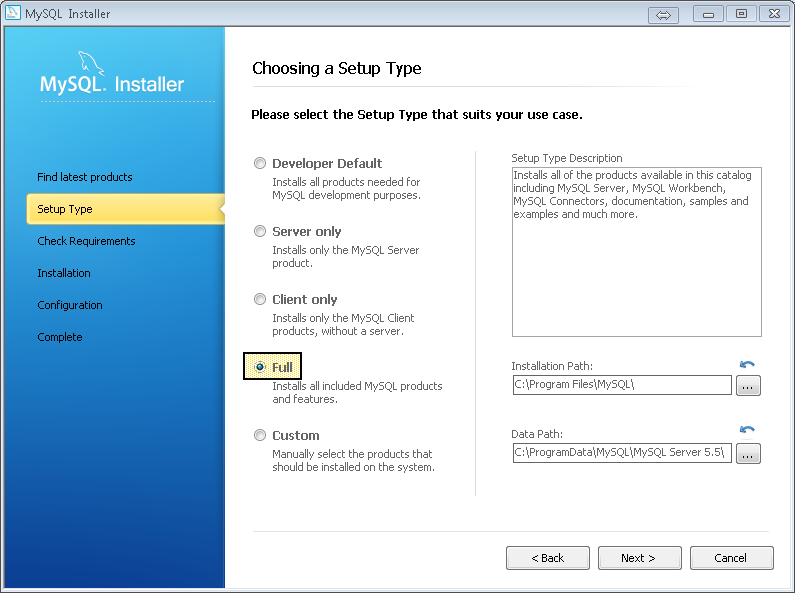
- Click “Full” on the Choosing a Setup Type screen
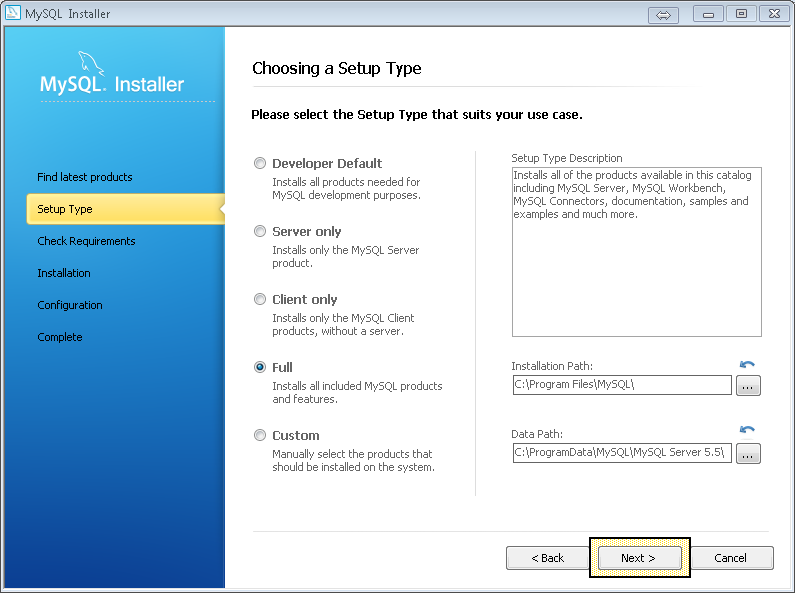
- Click “Next”
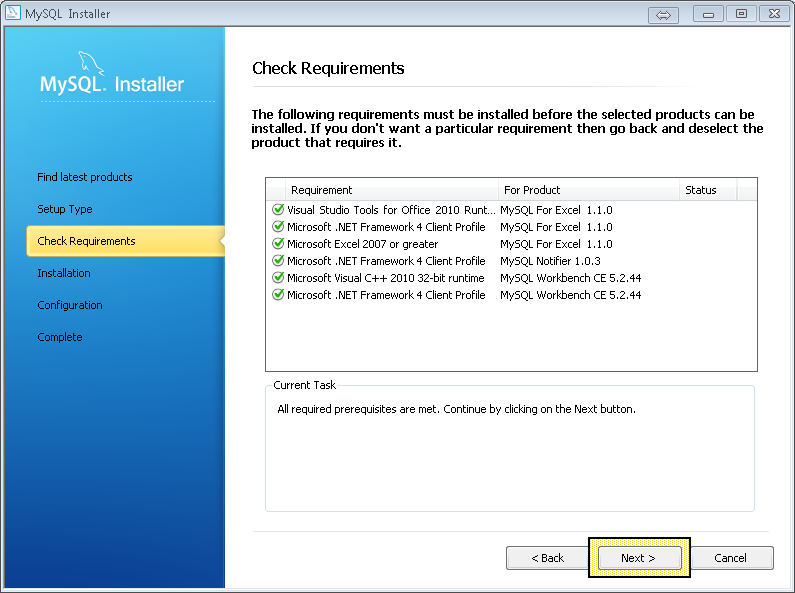
- Click “Next” on the Check Requirements screen
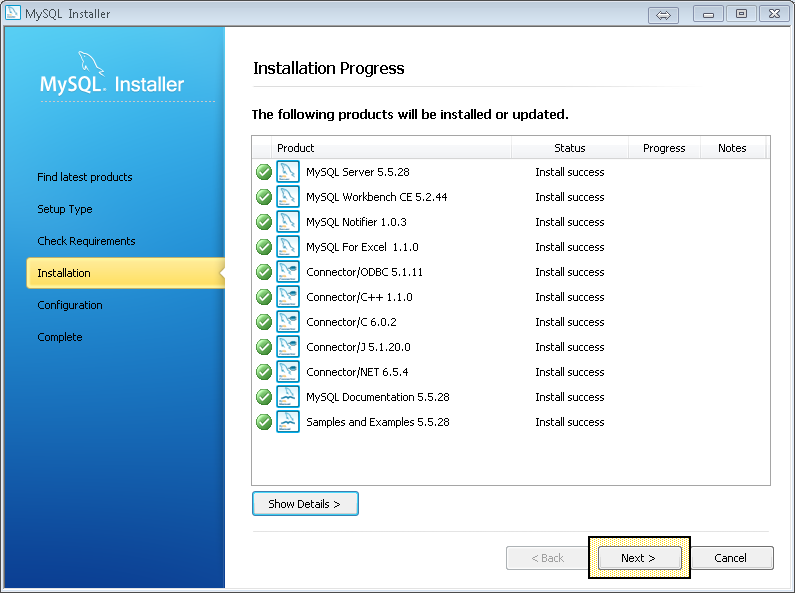
- Click “Execute” on the Installation Progress screen
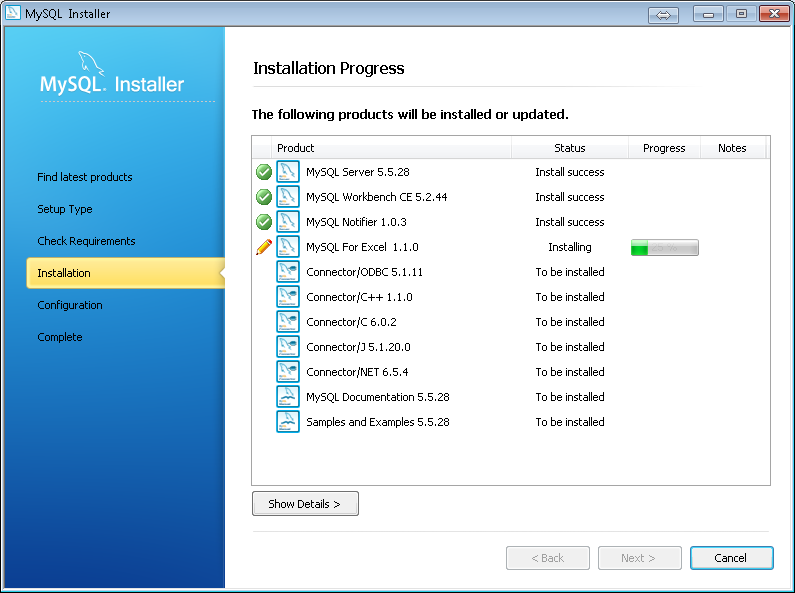
- Click “Next” on the Installation Progress screen once the process is complete
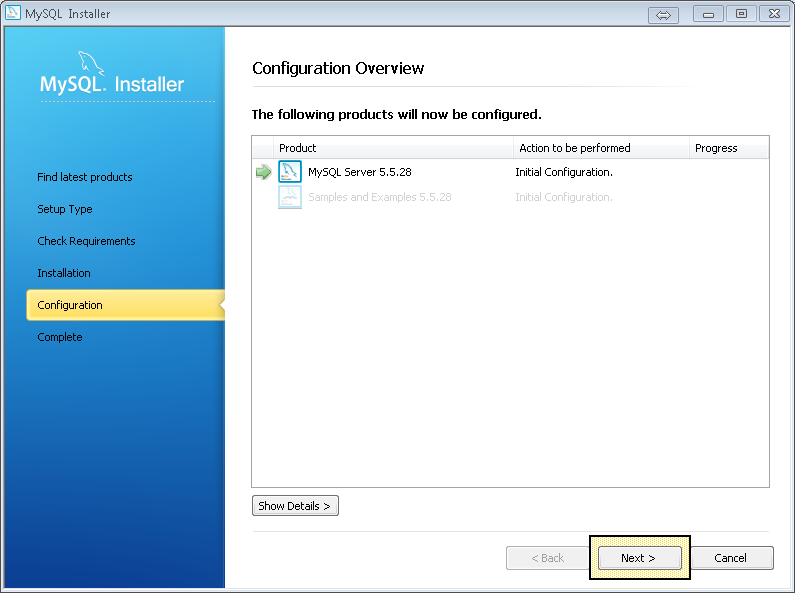
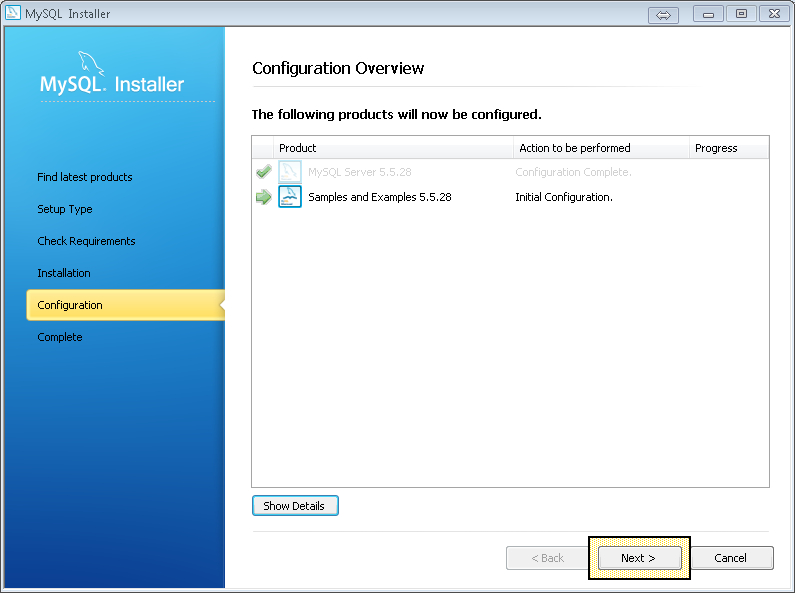
- Click “Next” on the Configuration Overview screen to install “MySQL Server 5.5.28”
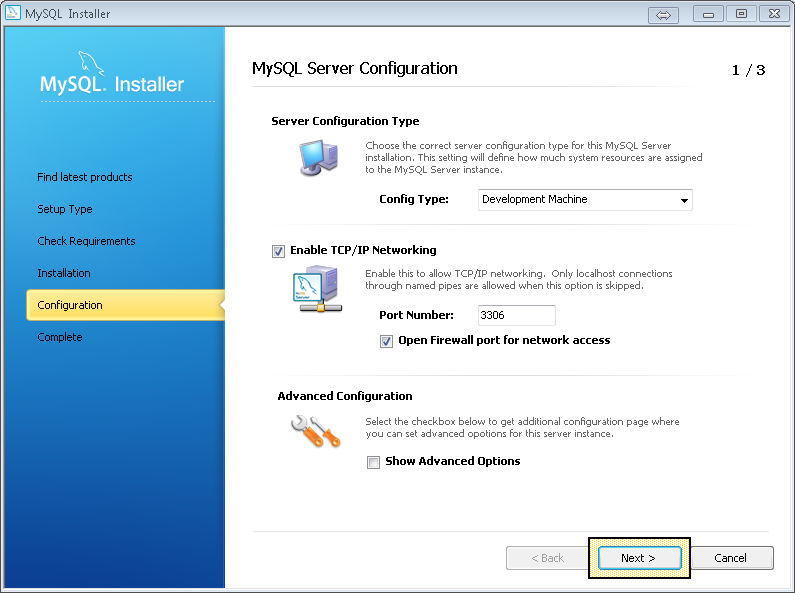
- Click “Next” on the MySQL Server Configuration screen 1 of 3
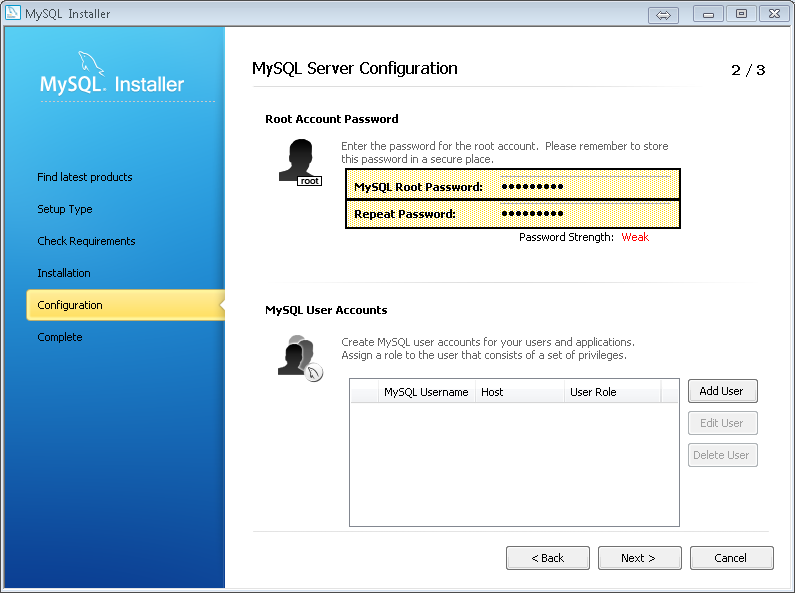
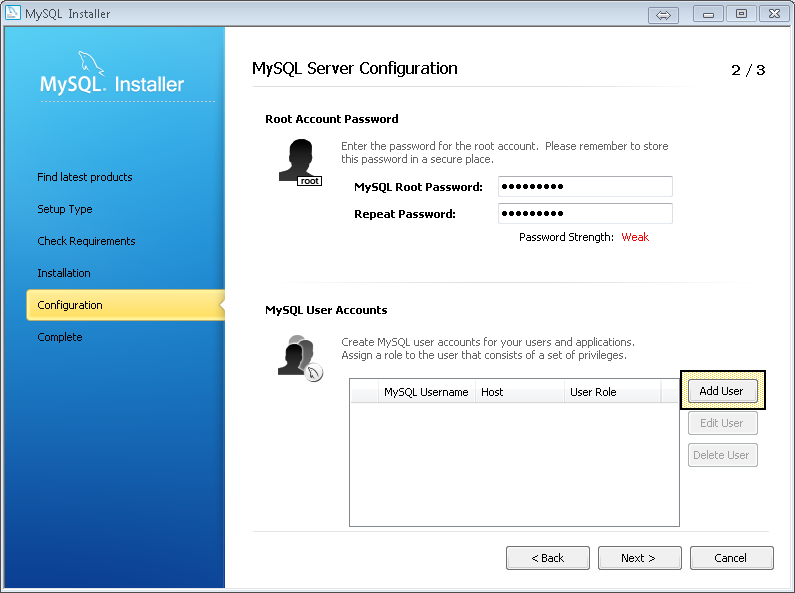
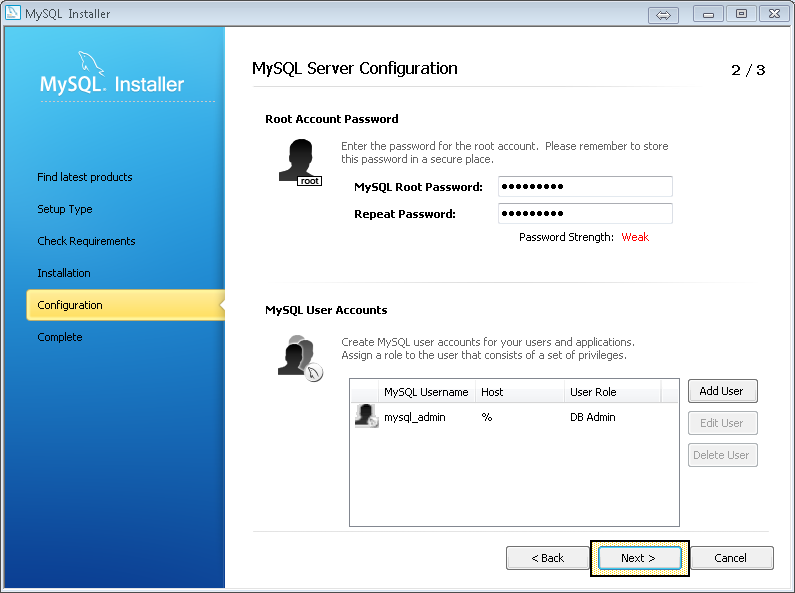
- Enter a password in the “MySQL Root Password” and “Repeat Password” fields
- Click “Add User”
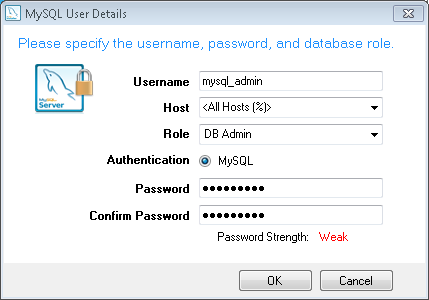
- Fill in all the fields on the MySQL User Details dialog
- Username: mysql_admin
- Host:
- Role: DB Admin
- Authentication: MySQL
- Password: anything as long as it is different from the root password
- Confirm Password: same as “Password”
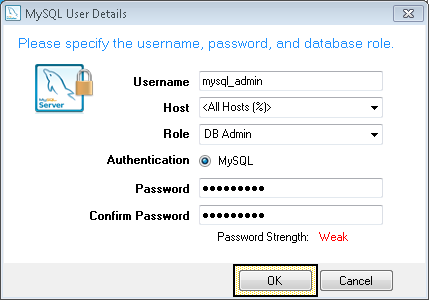
- Click “OK” to close the dialog and save the user
- Click “Next” on the MySQL Server Configuration screen 2 of 3
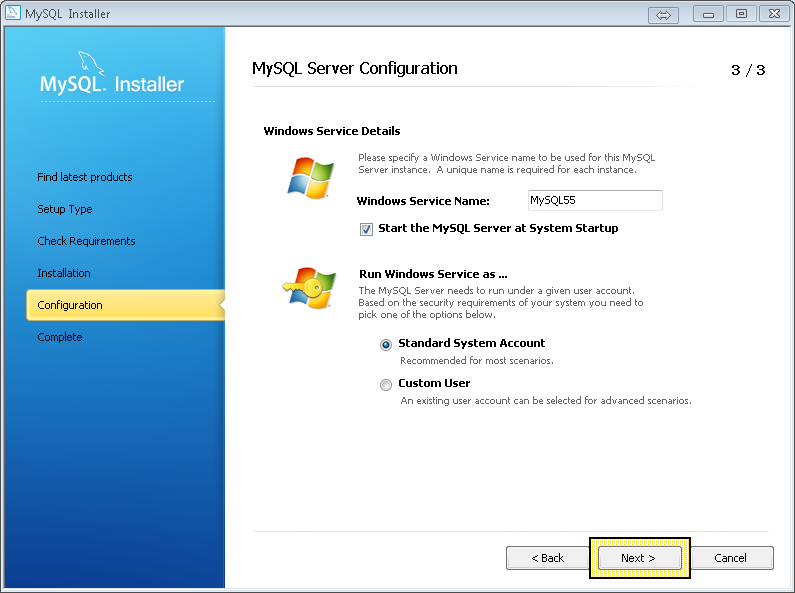
- Click “Next” on the MySQL Server Configuration screen 3 of 3
- Click “Next” on the Configuration Overview screen to install the “Samples and Examples 5.5.28”
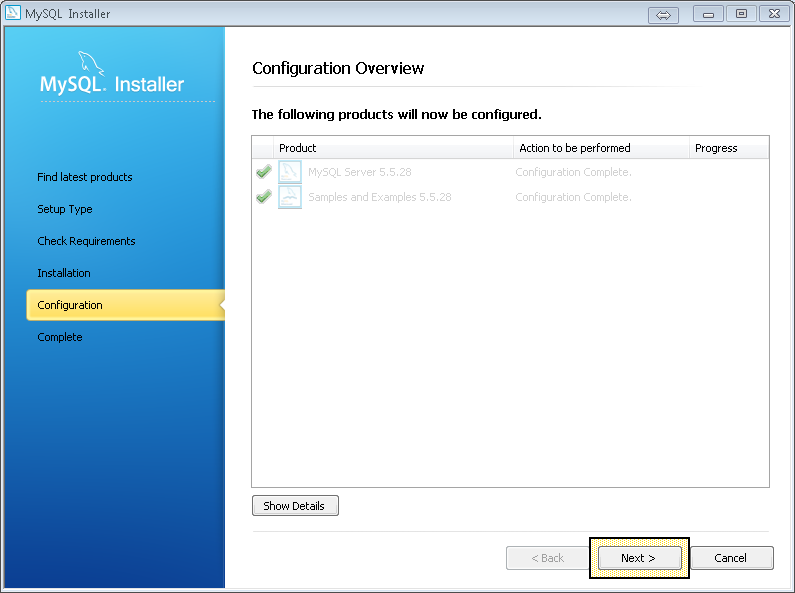
- Click “Next” on the Configuration Overview screen
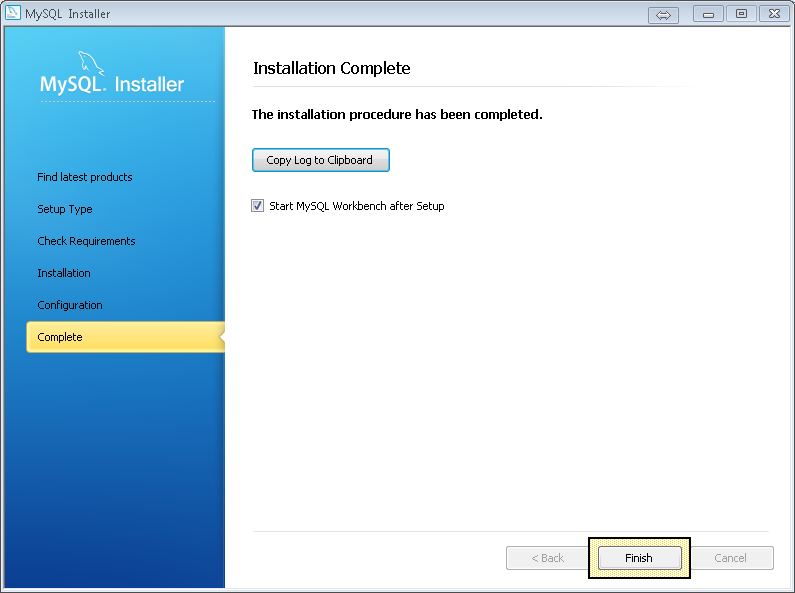
- Click “Finish” on the Installation Complete screen
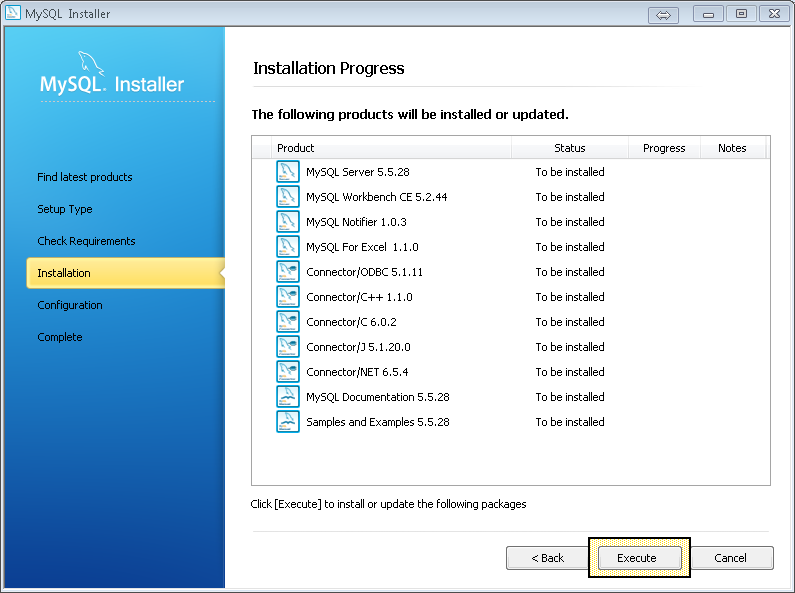
The process will begin to install all of the listed components.
Make note of this password as it is the root password to MySQL. This means if you lose it then you will lose access to your MySQL instance.
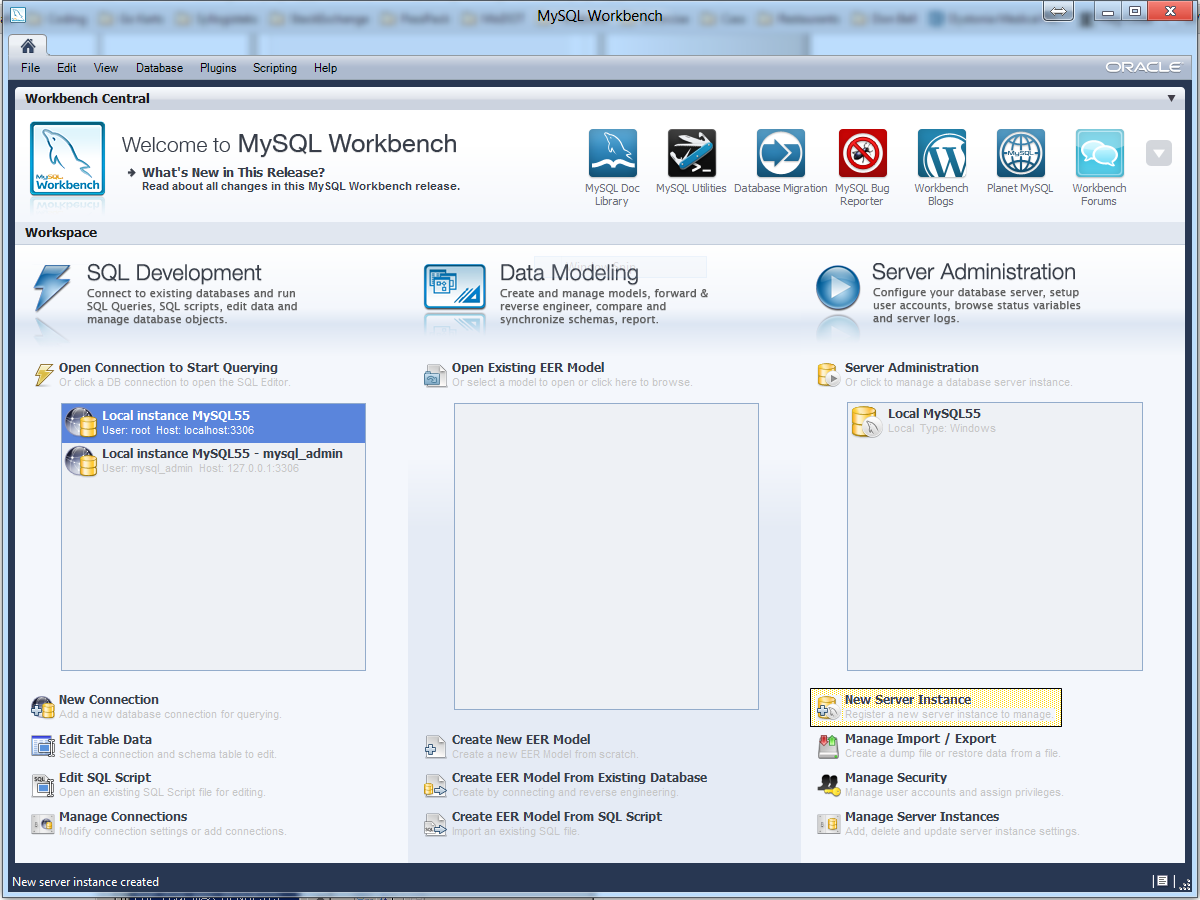
At this point the MySQL installation is complete. The MySQL Workbench should launch showing a screen similar to this one.
Add New MySQL Server Instance
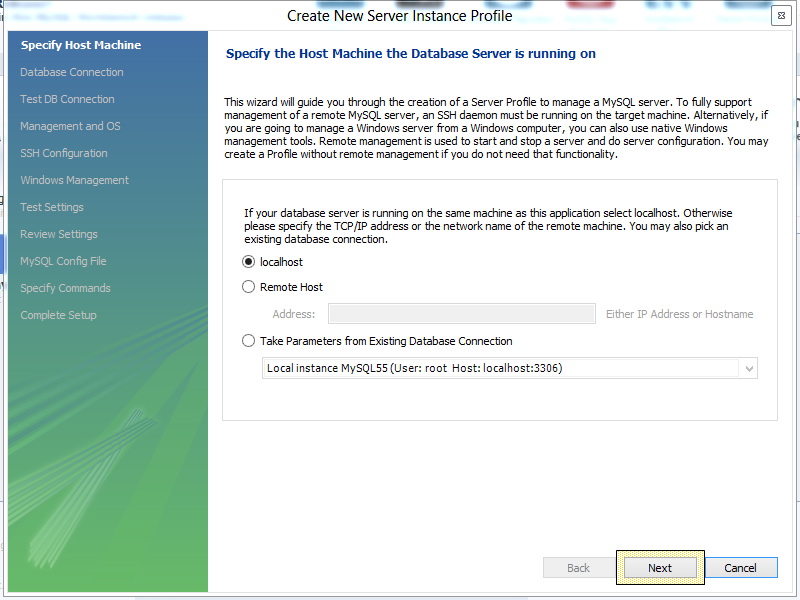
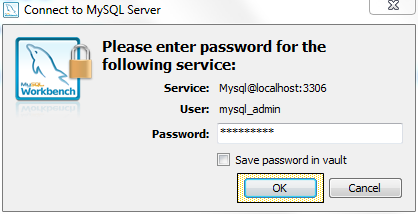
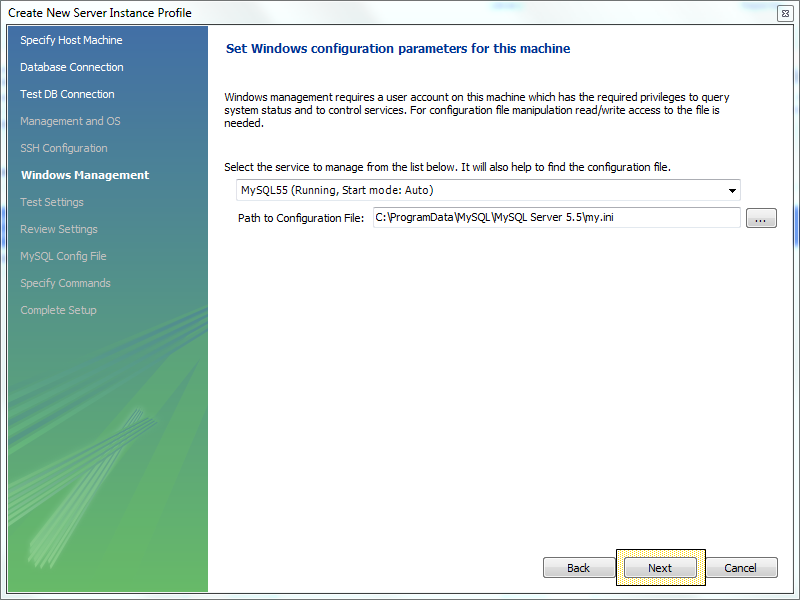
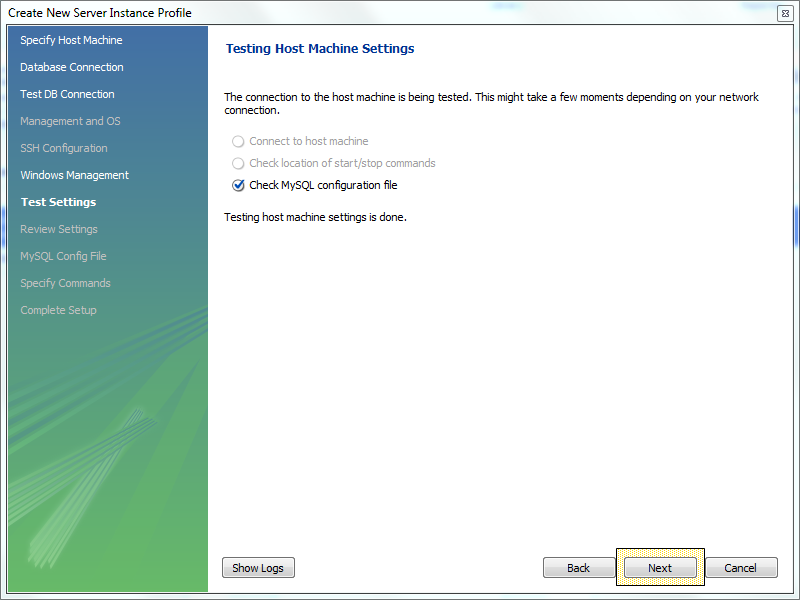
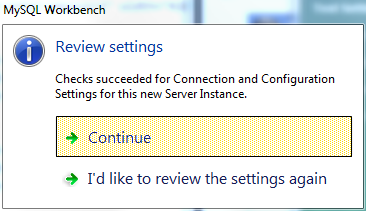
It is a good practice to not use the root user to perform day to day activities. During the installation we created a mysql_admin user for just this puprpose. At this point we will add a new server instance for the mysql_admin login. Creating that server instance will also create a new connection for us for the same login saving us a little work.
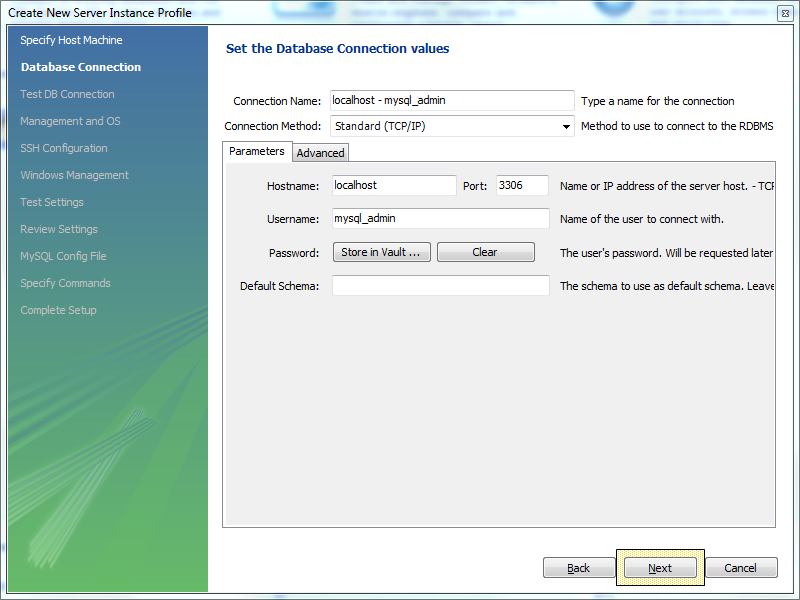
- Connection Name: localhost – mysql_admin
- Connection Method: Standard (TCP/IP)
- Hostname: localhost
- Port: 3306
- Username: mysql_admin
- Default Schema: leave blank
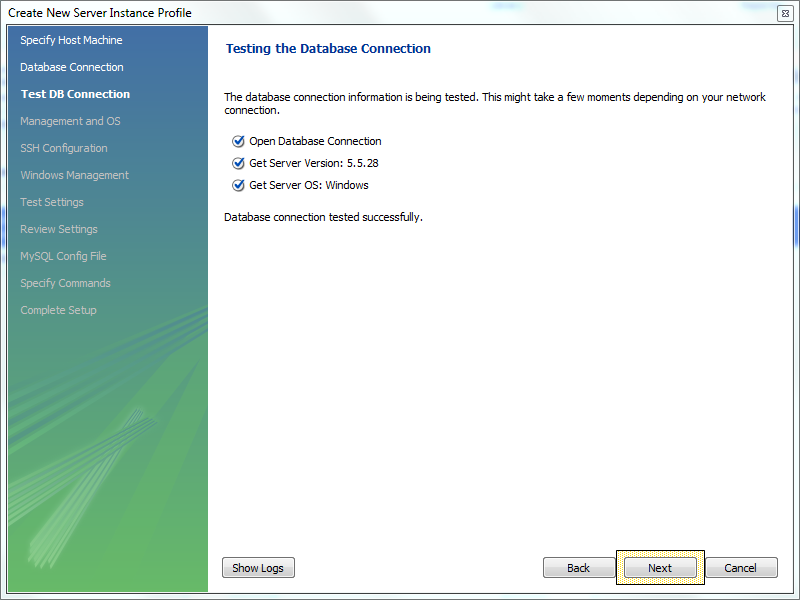
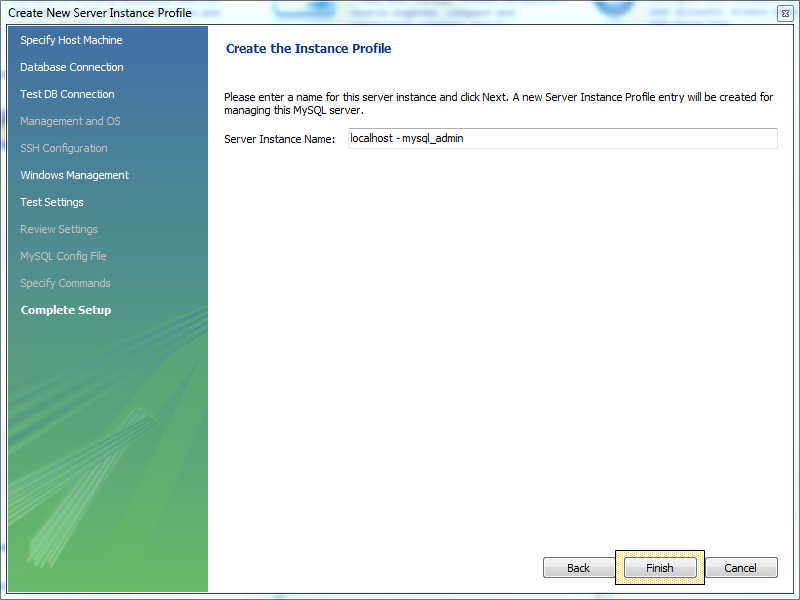
- Server Instance Name: localhost – mysql_admin
At this point the Create New Server Instance wizard will close and you will be returned to the MySQL Workbench. Notice the wizard also created a new connection for us.
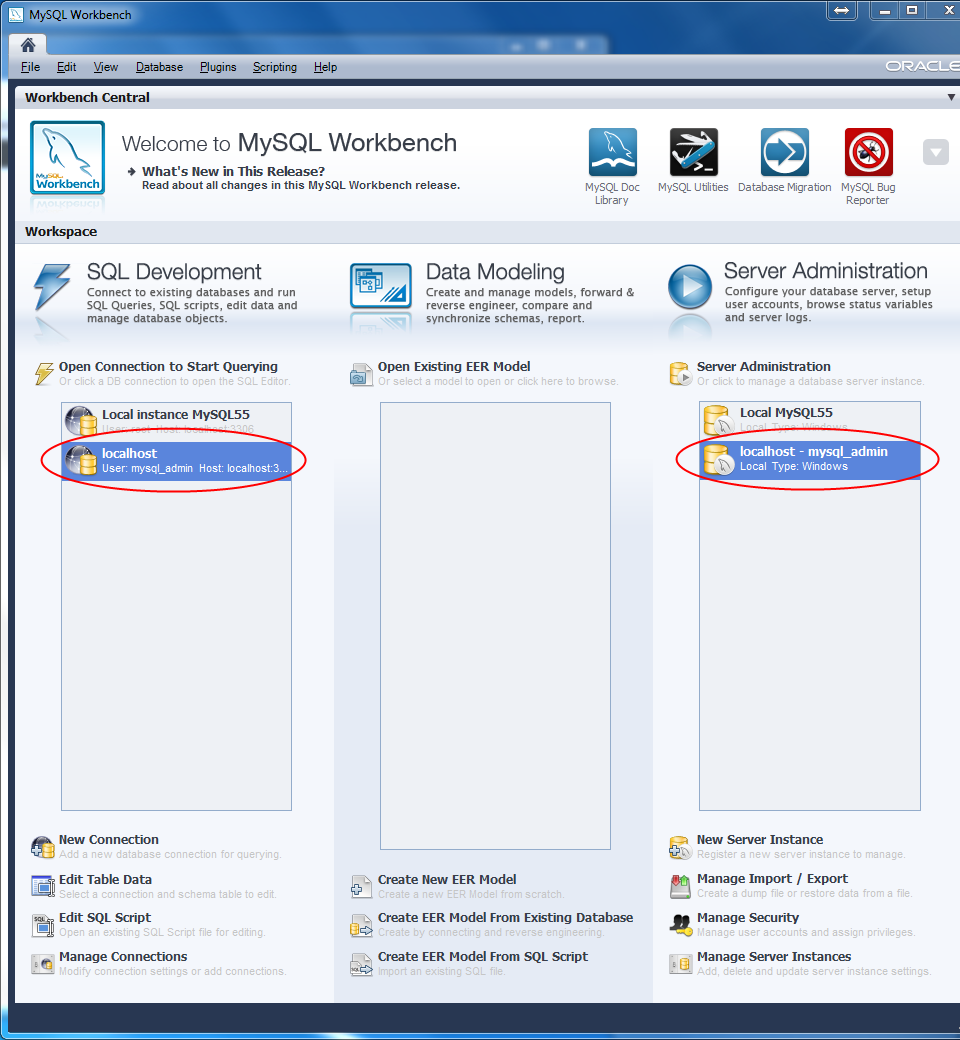
MySQL is now ready to be used. Just remember to use the mysql_admin login for all tasks. Do not use root unless it is the only option.
Leave a Reply
You must be logged in to post a comment.