How to Create a WordPress Plugin
Have you ever wanted to add some functionality to a WordPress site, but you didn’t want to modify any of the WordPress PHP files (functions.php to be specific)? Creating a plugin in WordPress is the answer, and it’s a pretty simple task. It can open the door to whole new world of possibilities when working with a WordPress site.In this post I will attempt to show you how to create a very simple shortcode plugin. It is intended to illustrate the creation of a plugin. It is not intended to show any sort of advanced plugin capabilities.
In order to create a plugin there are a few things you will need to get started. You will need…
- Access to the file system where WordPress is installed. Specifically, you will need access to the wp-content\plugins folder. This is the folder where all plugins reside and where you will put your newly created plugin.
- A text editor. Any text editor will do. I personally use Notepad ++ , but if you have your heart set on Notepad or some other editor that is entirely up to you.
- A basic understanding of PHP would be nice, but is not necessary if you can copy and paste.
That’s it. That is all you need to write plugins. Now let’s get started with writing our first plugin.
Step 1 Create a plugin folder
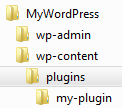
Inside the wp-content\plugins folder create a new folder named my-plugin. This folder can be named anything you like I’m just trying to keep it simple for the tutorial. Your folder structure should look something like this…
Step 2 Create the plugin PHP file
Now that we have the folder created that will contain our plugin we will need to create a PHP file that will be our plugin. Create a text file in the my-plugin folder you just created and name it my-plugin.php. Just like the folder name this file can be named anything you like as long as it has the .php extension.
Step 3 Add a plugin information header
Every plugin in WordPress contains a section at the top called the header. This header contains information about the plugin itself and is used by WordPress to identify the plugin on the Plugins admin panel. Open the my-plugin.php file and add the following text. This text should be kept at the top of the file. Any coding done later will be below the header.
<?php
/*
	Plugin Name: My Plugin
	Plugin URI: http://www.duhjones.com/
	Description: This is my first plugin.  It will be grand!
	Author: Frank Jones
	Version: 1.0
	Author URI: http://www.duhjones.com/
*/

?>
Let’s go over what we just added to the file. Everything to the left of a colon is used to identify the information by WordPress and should not be modified. Everything to the right of the colon is OK to change. All plugins must begin with <?php and end with ?>. These two things tell WordPress where PHP code begins and ends.
line 3 The plugin name is a unique name of your own design to describe your plugin.
line 4 The Plugin URI is a link to the site with information about the plugin.
line 5 Description is a just what it sounds like. It is a brief description of the plugin’s functionality.
line 6 Author would be you. This is the person who created the plugin.
line 7 Version is used to show the version of the plugin installed.
line 8 Author URI is a link to the author’s site.
At this point we can go to the Plugins panel on the WordPress admin page and see our plugin. You should have something similar to…
Step 4 Add some plugin code
Now that we have our header in place we can actually tell our plugin to do something. As I may have mentioned earlier we are keeping things simple so our plugin will do nothing more than create a shortcode to output some pre-defined text. Add the following code just under the header. Make sure it is not before the */ or WordPress will think it is part of the header and ignore it.
add_shortcode('mytext', 'create_shortcode');

function create_shortcode() {
	return "My awesome plugin!";
}
As you can see there is not much to it. Here is a breakdown of what each line is doing.
line 1 add_shortcode tells WordPress we are going to create a shortcode. It accepts two parameters. The first parameter is the name of the shortcode. This is what will be used in our posts or on our pages. The second parameter is the function that will be called when we invoke our shortcode.
line 3 This is how a PHP function is created. What is important to notice is this function’s name is the same name used in the add_shortcode call on line 1.
line 4 This line tells WordPress when this function is called return the string “My awesome plugin!”.
line 5 This line ends the function. You will notice on line 3 it was started with a corresponding {.
Step 5 Activate the plugin
Now that we have completed our coding we can activate the plugin. To do this we simply click the Activate link under our plugin name on the Plugins panel. If all goes well you should see a plugin activated message at the top of the screen.
Step 6 Use the plugin
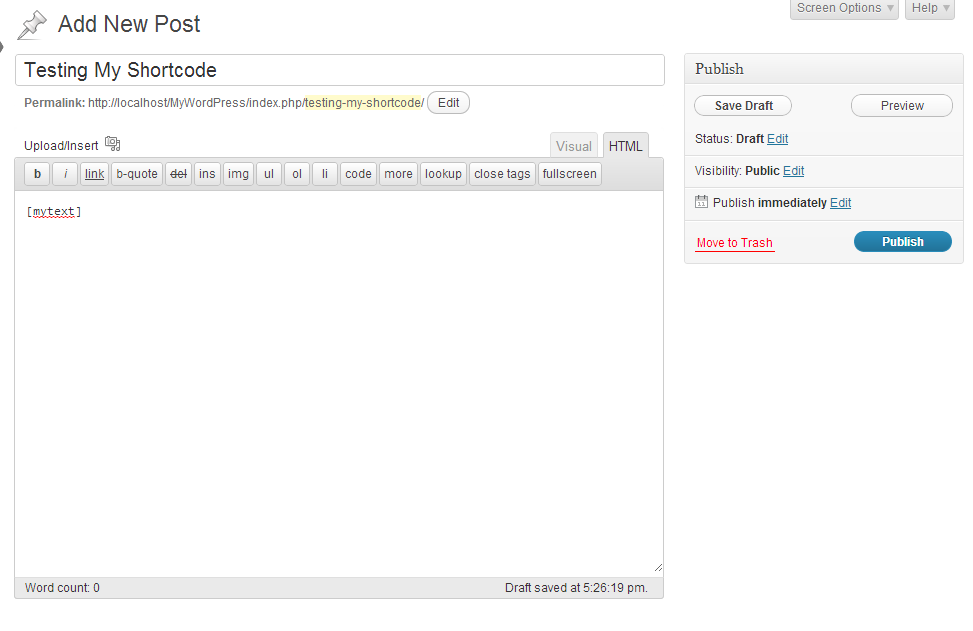
This is the fun part. We finally get to see the fruits of our labor come to life. Create a new post and type [mytext].
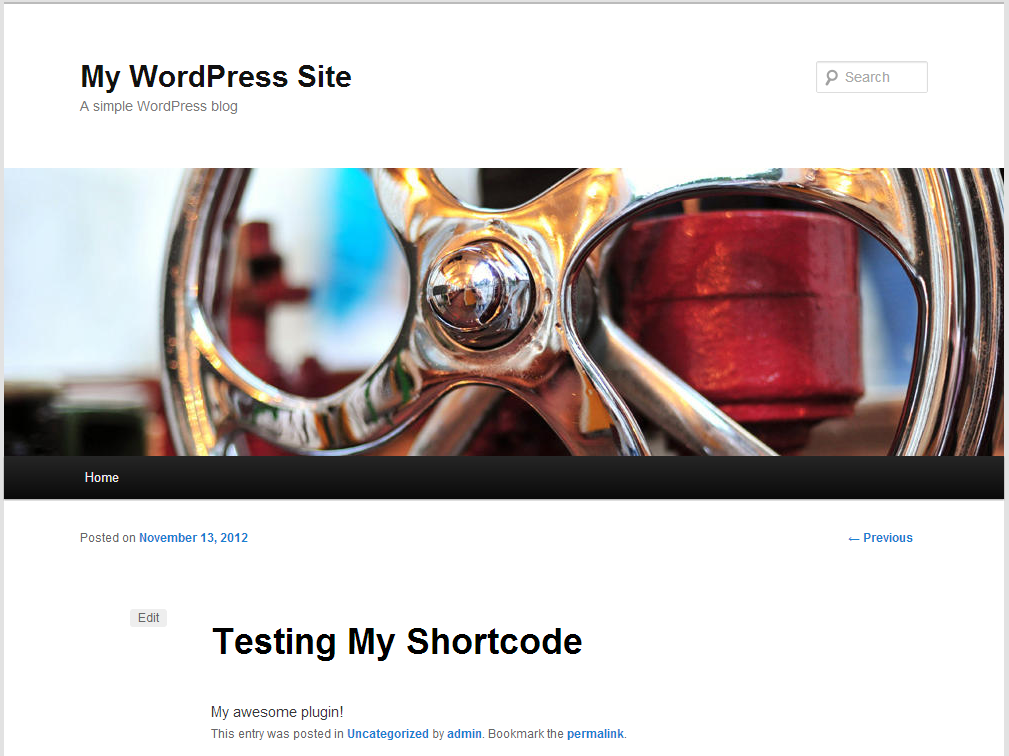
Once you publish the post you can see how WordPress took the shortcode text and replaced it with the string we defined in the plugin.


Leave a Reply
You must be logged in to post a comment.